
When you’re upgrading your kitchen or bathroom, few choices make as bold a statement—or offer as much durability—as granite countertops. But before you start picturing gleaming slabs of stone and snapping “after” pics, there’s one key player you need to understand: your granite countertop fabricator.
Whether you’re searching online for “granite countertop fabricators” or visiting granite distributors near me, knowing how to navigate the process from slab selection to final installation can save you time, money, and stress. This step-by-step guide, straight from the Bob Vila playbook, walks you through the entire journey.
Step 1: Find Local Granite Countertop Fabricators
Start by researching fabricators in your area. These are the professionals who will measure, cut, edge, and install your countertops.
🔎 How to Search:
“Granite countertop fabricators near me”
“Granite countertops near me with installation”
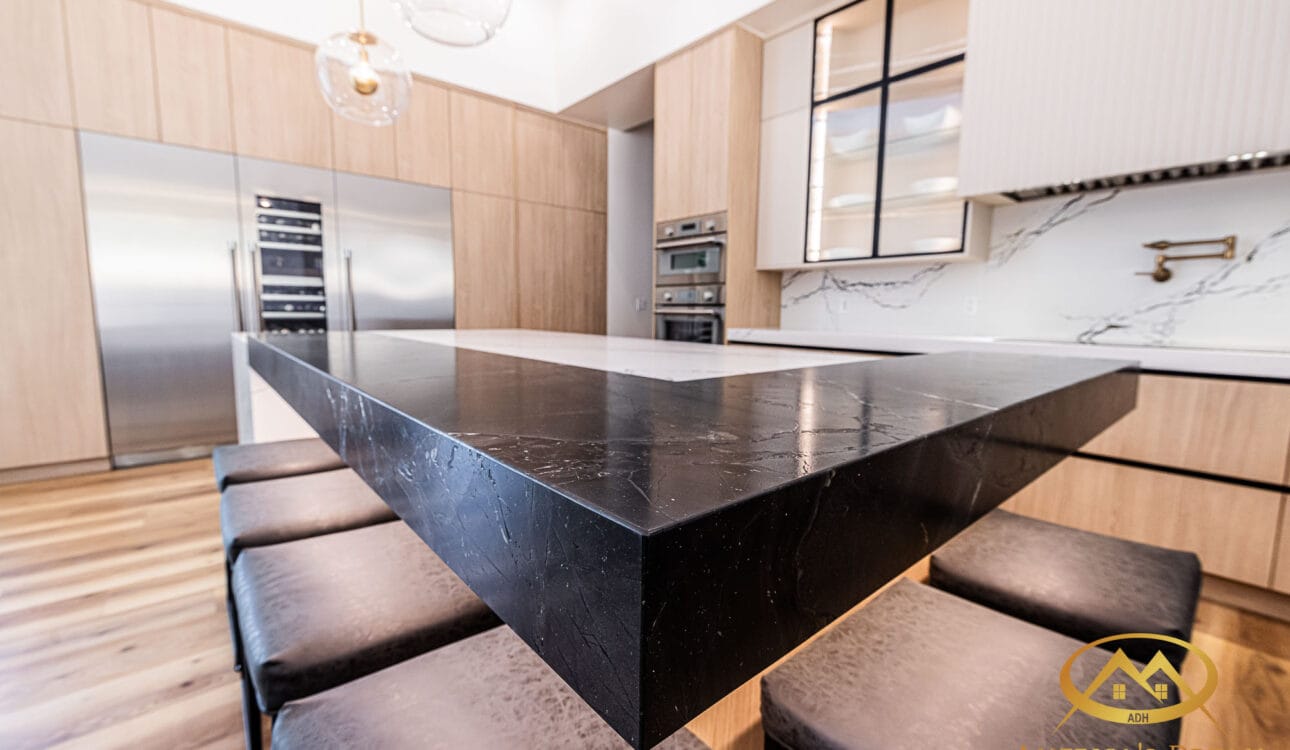
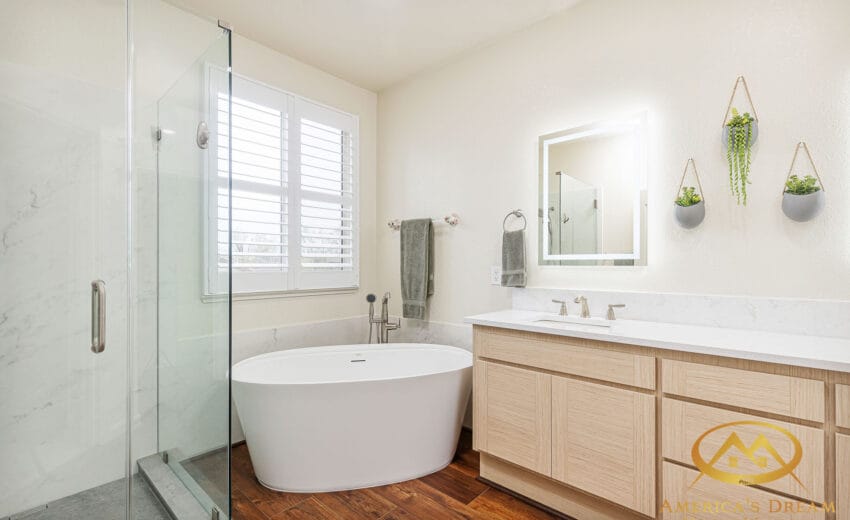
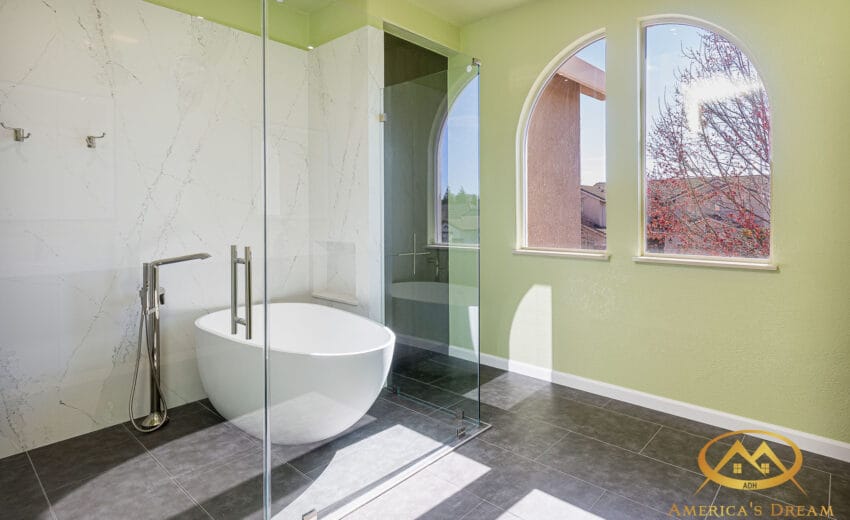
Granite: The Timeless Stone Choice for Luxury
“Granite distributors near me” for slab browsing
💡 Pro Tip: Always choose a fabricator with an in-house showroom and installation crew. It ensures better quality control and communication throughout the process.

Step 2: Visit Granite Distributors or Showrooms
Once you’ve got your shortlist, it’s time to go slab shopping.
🧱 Look for:
Granite slabs near me with a wide selection
Slabs displayed vertically for easy viewing
Knowledgeable staff who can explain origin, durability, and care
Bring cabinet samples or paint swatches to help visualize your final look.
💡 Vila Insight: Each granite slab is unique. Don’t just pick from a small sample—see the full slab in person whenever possible.
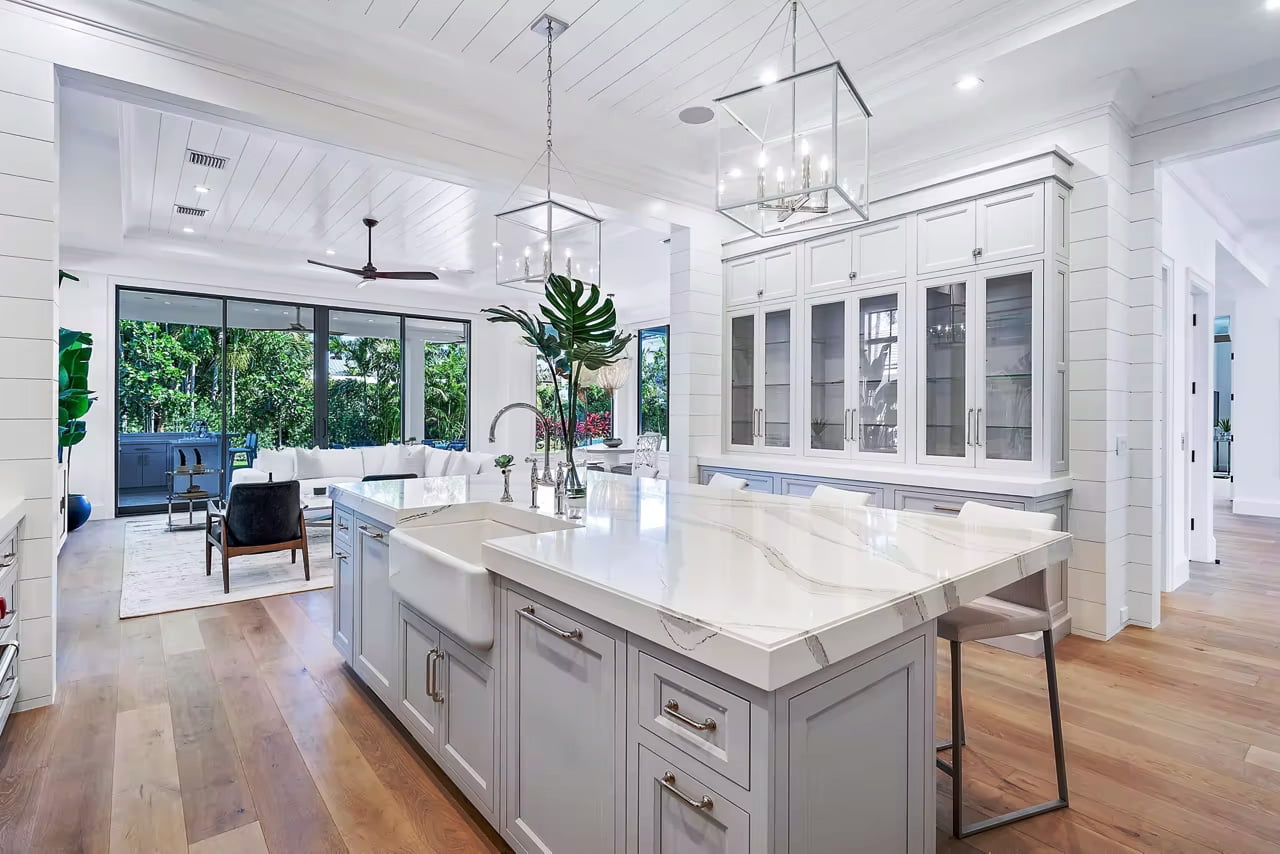
Step 3: Choose the Right Granite Slab for Your Space
Granite comes in countless colors and patterns—from subtle grays to dramatic veined blacks. When selecting your granite countertop slabs, consider:
✔️ Room Lighting – Darker granite can shrink a small, dim room.
✔️ Cabinet Color – Aim for contrast or complement.
✔️ Veining & Movement – Busy patterns may overwhelm smaller kitchens.
✔️ Finish Type – Polished for a glossy look, honed for a matte finish.
💡 Pro Tip: Ask about slab availability and hold policies—popular patterns sell fast.
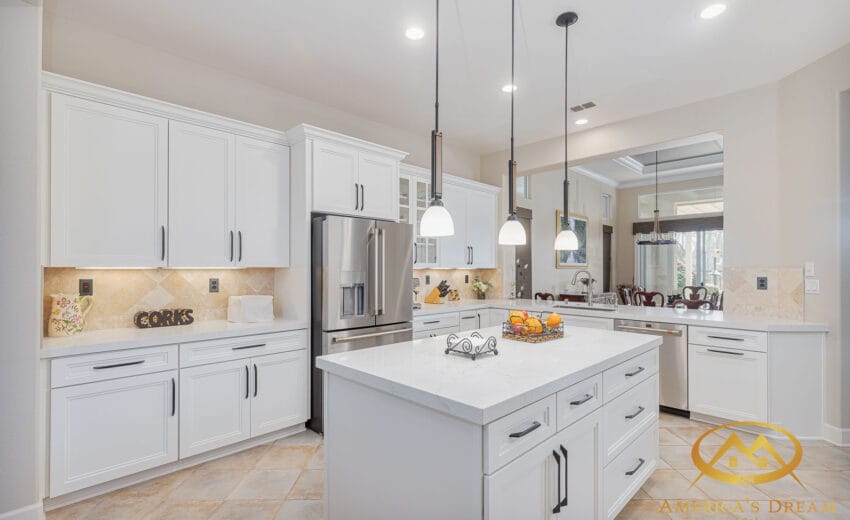
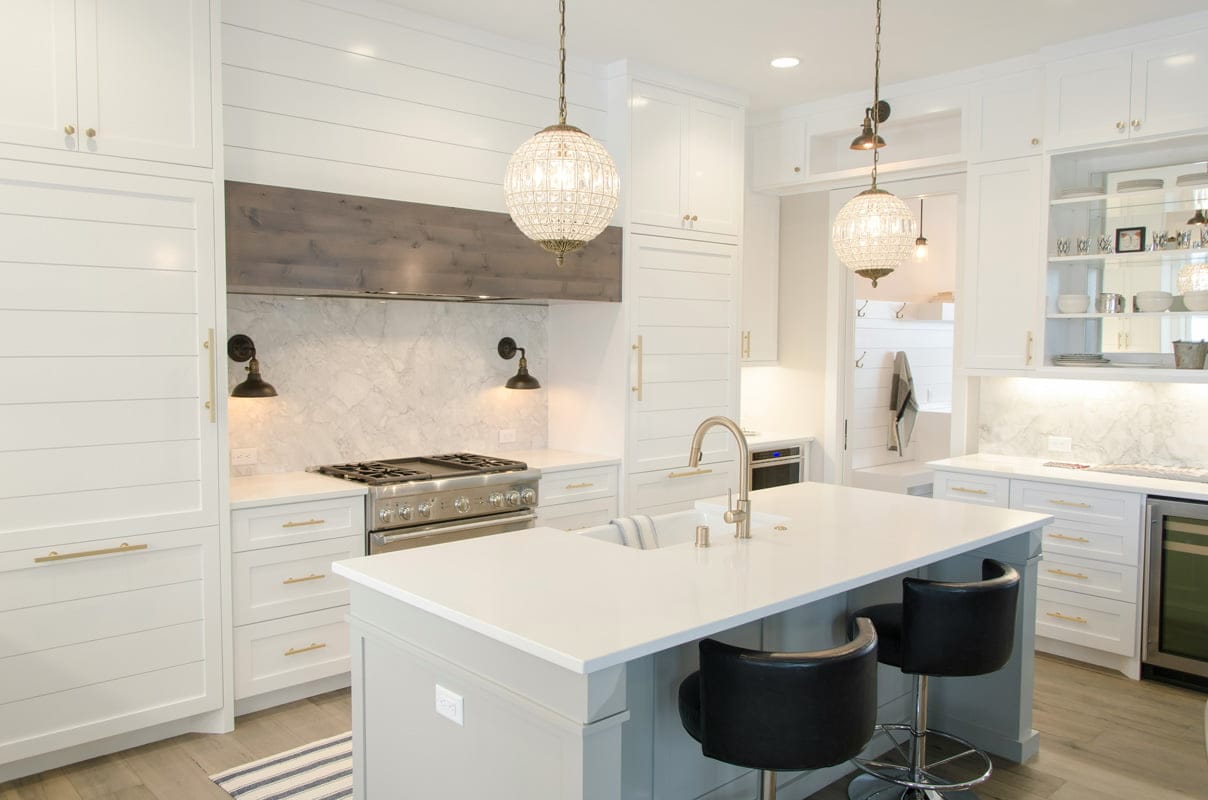
You can get inspired by past installations, such as the Cambria Countertops Shine in Roseville, CA Kitchen Remodel project.
Check Our Recent Projects


Step 4: Get a Detailed Quote
After you’ve picked your slab, the fabricator will visit your home to measure the space and provide a custom quote.
Your quote should include:
Material cost (per square foot)
Fabrication (cutting, edging, polishing)
Sink and cooktop cutouts
Installation fees
Sealing (if not included)
💬 Estimated Range: $40–$100+ per square foot installed, depending on granite type and complexity.
💡 Bob’s Tip: Avoid fabricators who give vague or flat-rate quotes without measuring—custom work requires precision.
For cost insight, check out Understanding Kitchen Remodel Cost: Your Guide to Budgeting for a Dream Kitchen.
Step 5: Approve the Template & Layout
Once the quote is approved, your fabricator will create a template—a full-scale map of your countertops.
✔️ Review the layout to ensure the best part of the stone shows in key areas.
✔️ Confirm sink placement, backsplash height, and edge profiles.
💡 Layout Tip: Ask to preview how your slab will be cut—this is your chance to showcase the most beautiful part of the stone.
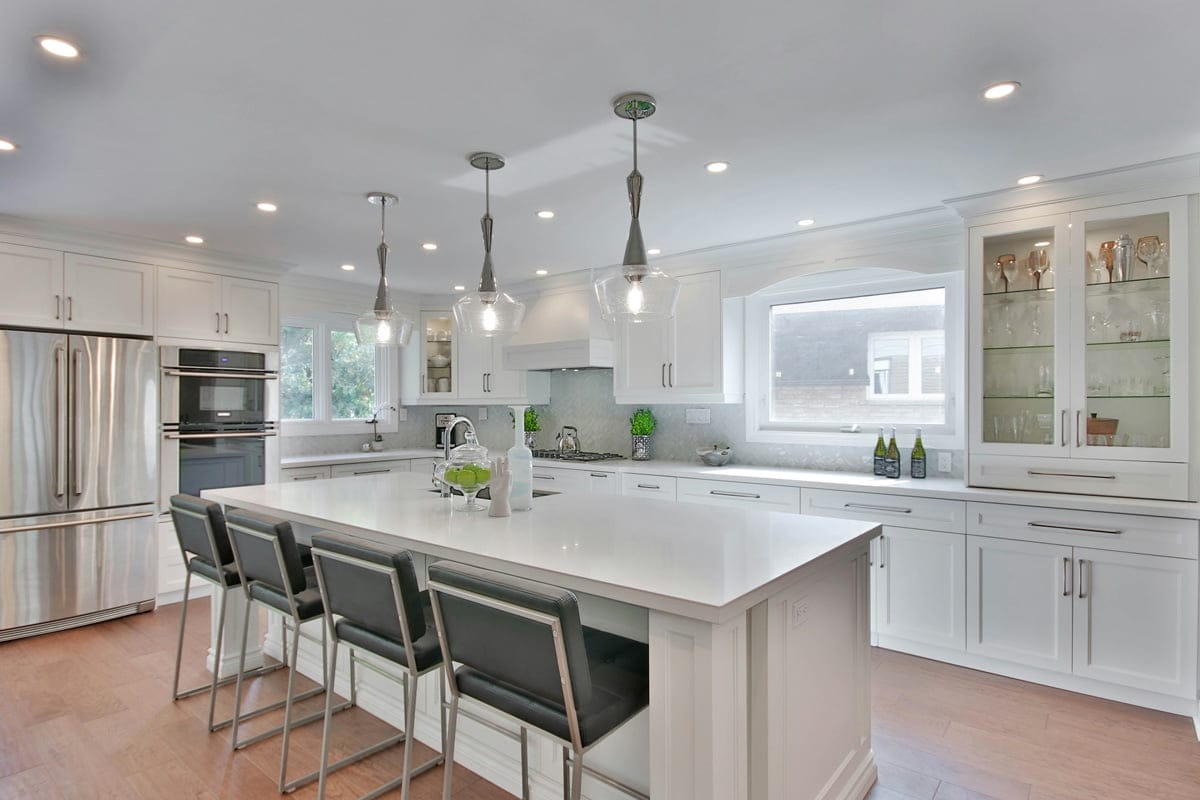
Need ideas? Look at this Custom Kitchen Remodel in Lincoln, CA.
Step 6: Fabrication Begins
Using the template, the fabricator cuts the slab to size, creates openings for sinks or appliances, and polishes the edges.
Popular Edge Styles:
Eased (clean, modern)
Beveled (classic)
Ogee (elegant and traditional)
Mitered (great for a thicker look)
💡 Durability Tip: Ask for reinforcement around sink and cooktop cutouts—these areas can be weak spots if not properly supported.
Looking for other countertop options? Explore Silestone Countertops or Dekton Countertops.
Step 7: Installation Day
This is the moment your space transforms. On install day:
✔️ Clear access to the space.
✔️ Ensure base cabinets are level and secure.
✔️ Be available to answer questions or sign off on final placement.
Most installs are completed in a few hours, but larger or more complex jobs may take a full day.
💡 Final Step: Once installed, your countertops should be sealed (unless the granite is pre-sealed) to protect from stains and etching.
Need help choosing cabinets to pair with your stone? Check out our Custom Cabinetry options.
Maintenance After Installation
Granite is known for its durability, but it still needs proper care:
✔️ Wipe spills quickly—especially oils, wine, and acidic foods.
✔️ Use pH-neutral cleaners.
✔️ Reseal annually (unless using a lifetime sealant).
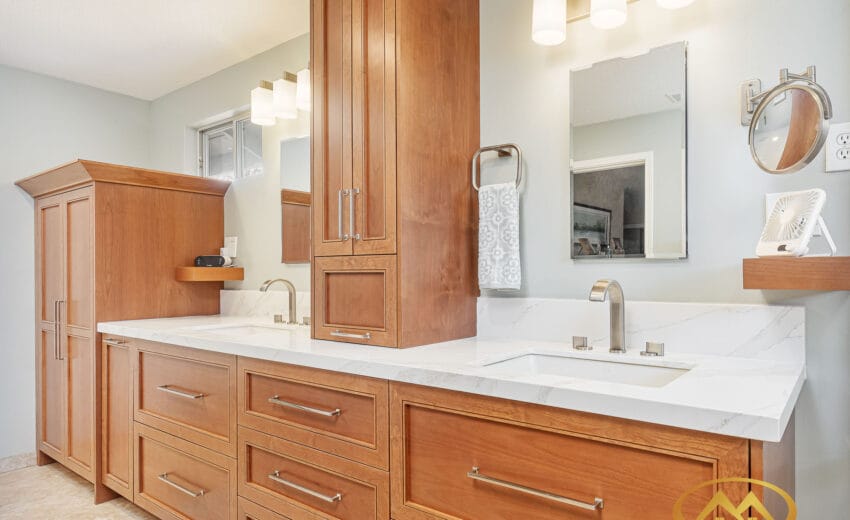
💡 Bonus Tip: Keep leftover scraps—they can be used for matching shelves, side tables, or bathroom upgrades.


