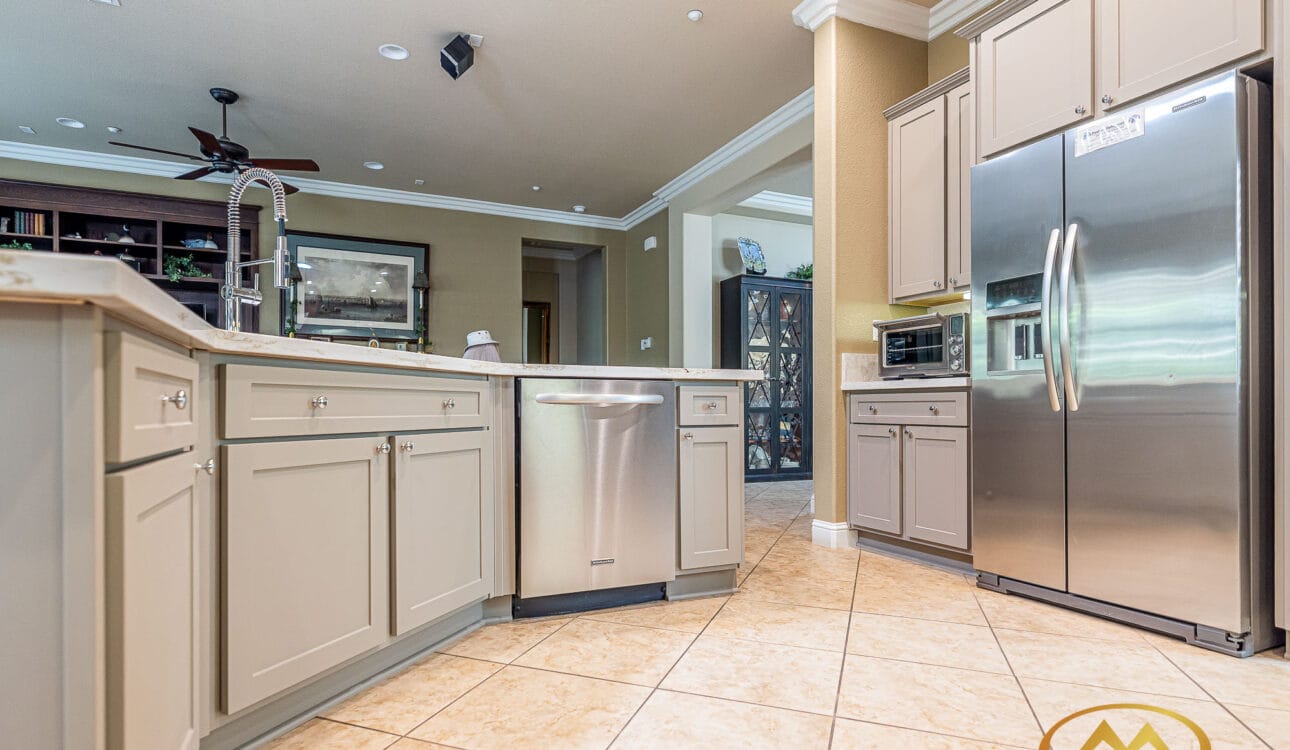
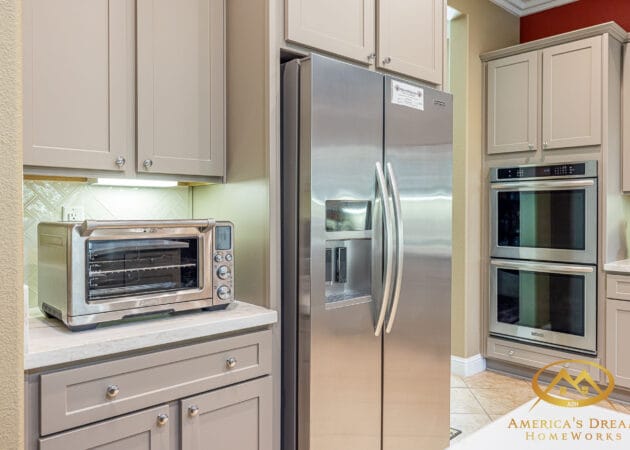
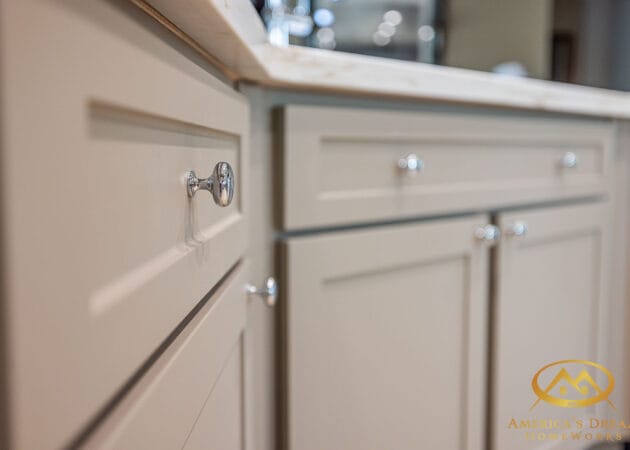
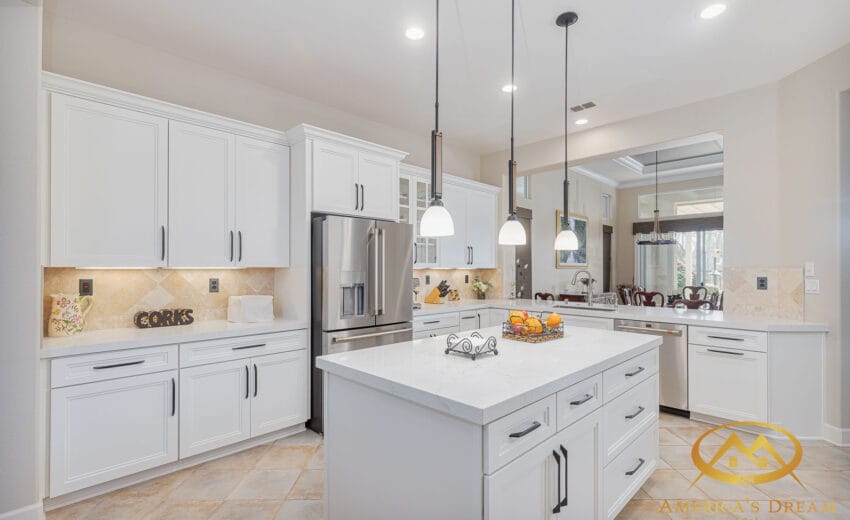
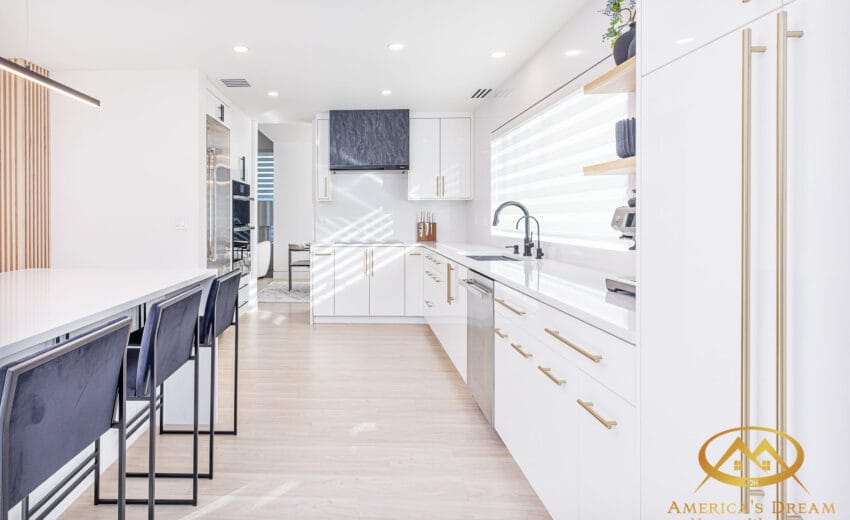
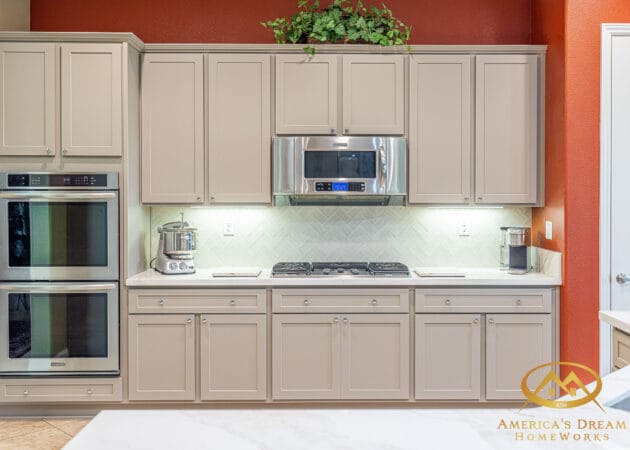
Cabinet painting is one of the most cost-effective ways to update the look of your kitchen without paying the price of a complete remodel. Whether you want to liven up outdated cabinets or change the color scheme of your kitchen entirely, painting or refinishing kitchen cabinets can achieve remarkable results.
Why Refinish Your Kitchen Cabinets?
There are many reasons why homeowners choose to paint their kitchen cabinets. Here are some of the most common motivations:
Budget-Friendly Kitchen Makeover
Remodeling a kitchen can cost thousands to tens of thousands of dollars, but cabinet refinishing is only a fraction of that cost, making it an affordable option for anyone looking to update their kitchen without breaking the bank.Refresh the Look of Old Cabinets
Over time, cabinets can become scratched, stained, and worn. A fresh coat of paint can quickly make your cabinets look brand new again.Customization
Painting and refinishing cabinets allows for nearly endless customization options. Whether you want a clean white look, an earthy forest green, or a modern design, you have full control over the aesthetic of your kitchen.Increase Home Value
When it comes to resale, potential buyers are often drawn to a fresh, modern-looking kitchen, and newly painted or refinished cabinets can contribute to that impression.
Refinishing Your Kitchen Cabinets: Step-by-Step
1. Remove Hardware and Doors
Start by removing all cabinet doors, drawers, and hardware (handles, knobs, hinges). This allows you to access all surfaces easily and ensures you don’t get paint on any metal parts. Label each door and drawer with painter’s tape to keep things organized.
2. Surface Preparation
Proper preparation is the most important part of painting or refinishing kitchen cabinets. Failing to clean or sand surfaces can result in peeling, chipping, or uneven coverage.
- Clean Thoroughly: Use warm water and dish soap to remove grease. For stubborn stains, a degreaser is recommended.
- Sand the Surface: Sanding ensures the paint adheres properly. If your cabinets are made of wood, this step removes the old finish and smooths imperfections.
- Fill Imperfections: Use wood filler to repair dings and scratches. Sand again after the filler dries.
3. Apply Primer
Primer creates a smooth base for paint and prevents stains from bleeding through. Use a high-quality bonding primer designed for cabinetry. Apply evenly and allow it to dry fully before proceeding.
4. Sand Again (Optional)
After the primer has dried, lightly sand with fine-grit sandpaper to smooth out brush strokes or imperfections. Wipe away dust with a tack cloth.
5. Choose the Right Paint
Selecting the right paint is crucial for a long-lasting finish:
- Oil-Based Paint: Offers a durable, glossy finish, but takes longer to dry.
- Water-Based Paint: Easier to work with and dries faster. High-quality water-based paints can still deliver excellent results.
For best results, use paint specifically designed for cabinets, such as kitchen-grade paint options.
6. Choose the Right Finish
The finish determines the overall appearance and functionality of your cabinets:
- Glossy or Semi-Gloss: Easy to clean and ideal for high-traffic areas like kitchens.
- Matte or Satin: Provides a softer look but may require more maintenance.
7. Apply Paint
Apply multiple thin coats rather than one thick coat to prevent drips and ensure even coverage. Use a high-quality brush, foam roller, or a paint sprayer for the best results. Allow each coat to dry before applying the next. Depending on the color and finish, two or three coats may be necessary.
8. Reinstall Hardware and Doors
Once the final coat is dry, reinstall hardware and reattach the doors and drawers. Ensure everything aligns properly and operates smoothly.
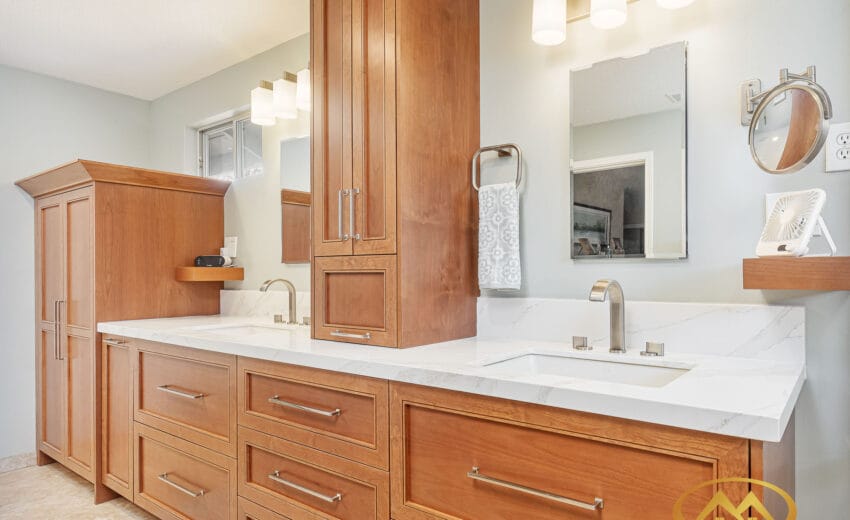
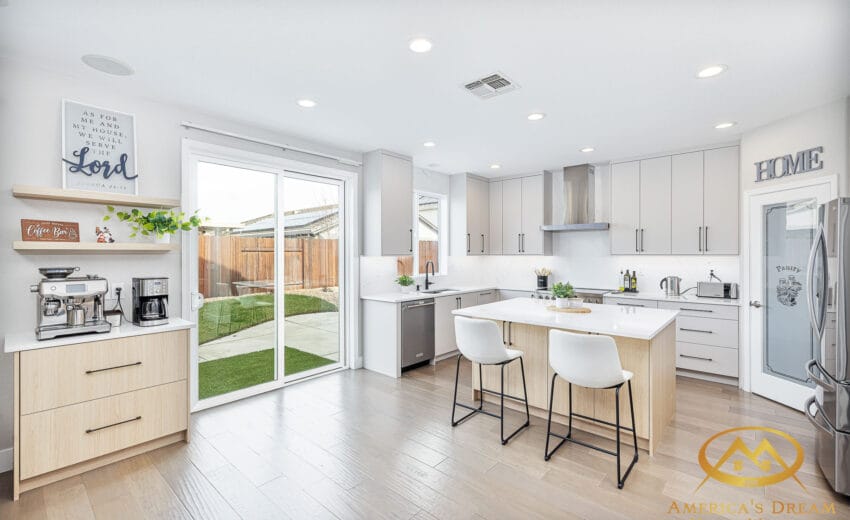
Check Our Recent Projects
Pro Tips for a Professional-Looking Finish
- Invest in Quality Tools: A good brush or paint sprayer provides smooth, even coverage without streaks.
- Don’t Rush: Allow sufficient drying time between steps for the best results.
- Seal the Finish: Apply a clear polyurethane coat to protect against scratches and wear, especially in high-traffic areas.
Common Mistakes to Avoid
- Skipping Primer: Primer is essential for proper paint adhesion.
- Using Standard Paint: Choose cabinet-specific paint for a durable finish.
- Skipping Preparation: Cleaning and sanding are crucial for a smooth, long-lasting result.
- Rushing Drying Times: Allow each coat to dry fully before applying the next.
Conclusion
Refinishing kitchen cabinets can dramatically improve the look of your kitchen without the need for a full-scale remodel. By properly preparing surfaces, selecting the right materials, and following a thorough process, you can achieve a professional-looking finish that revitalizes your kitchen space. With a little time and patience, you’ll enjoy a fresh, modern kitchen that’s both beautiful and cost-effective!
