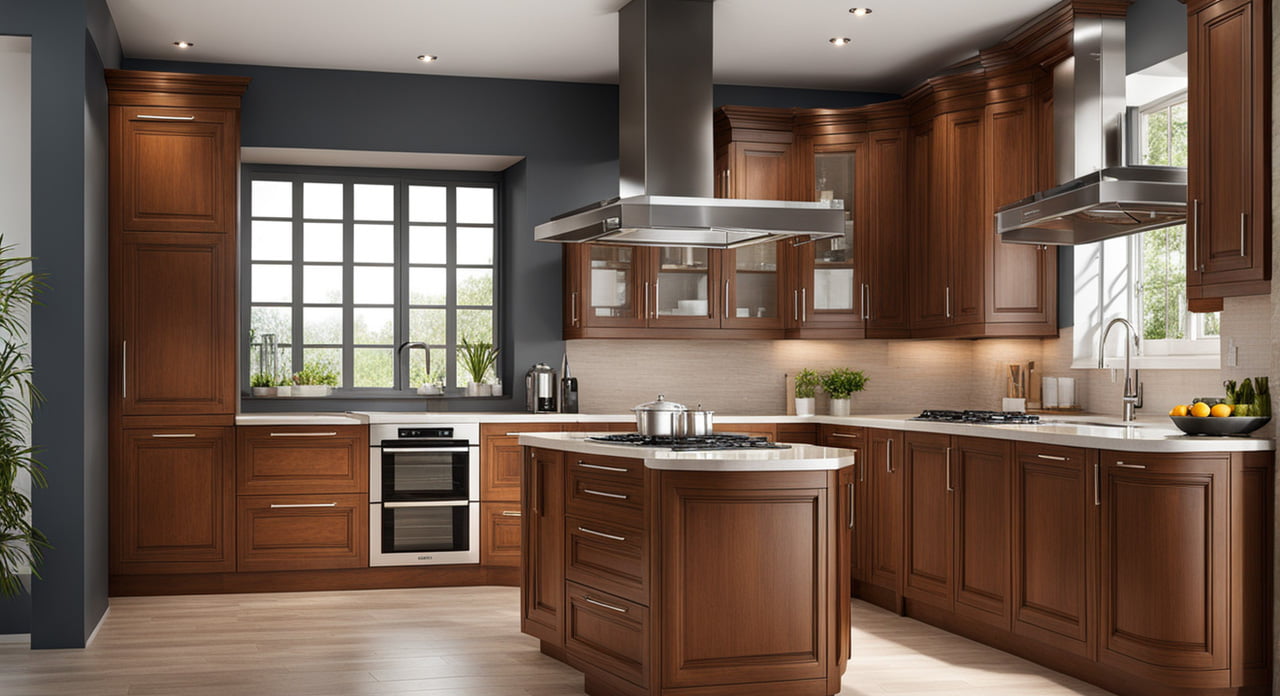
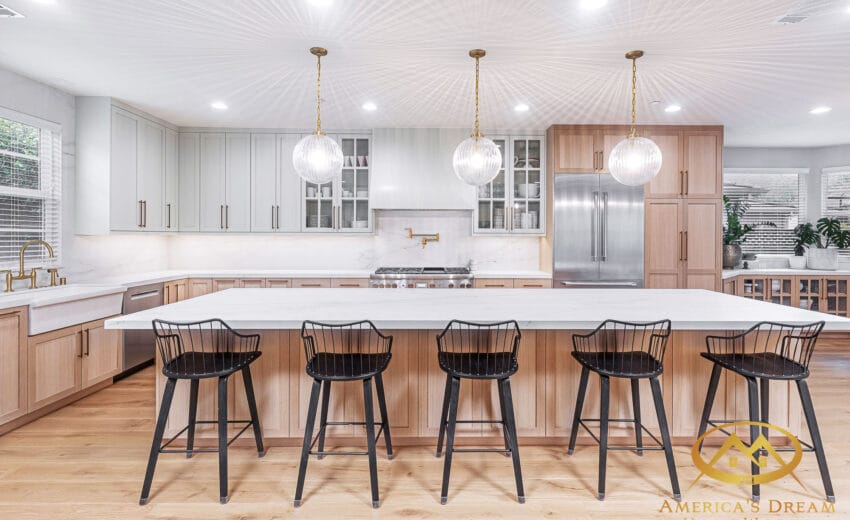
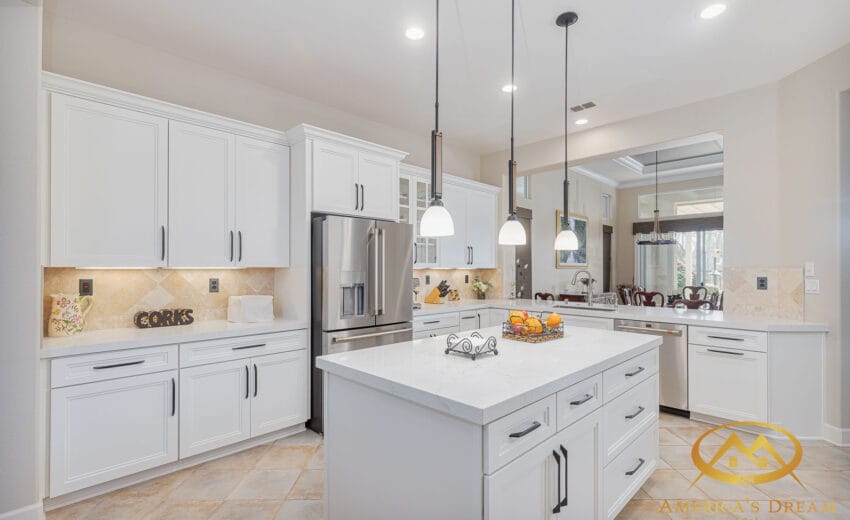
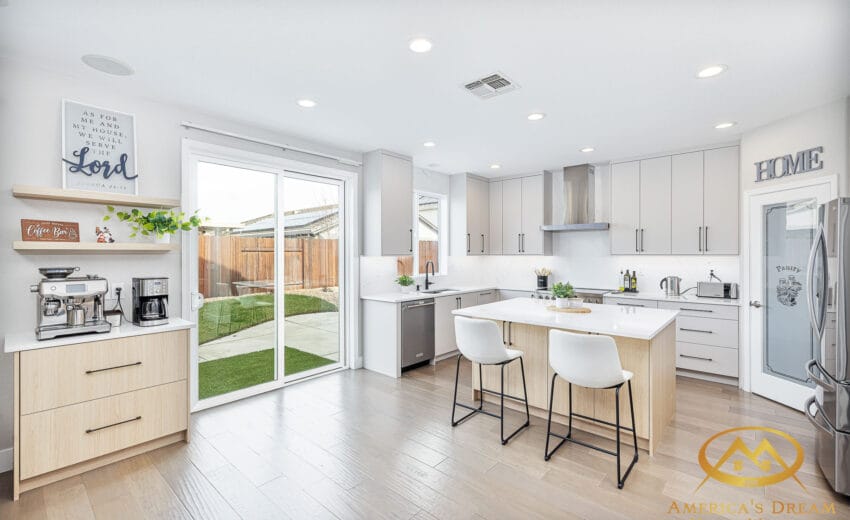
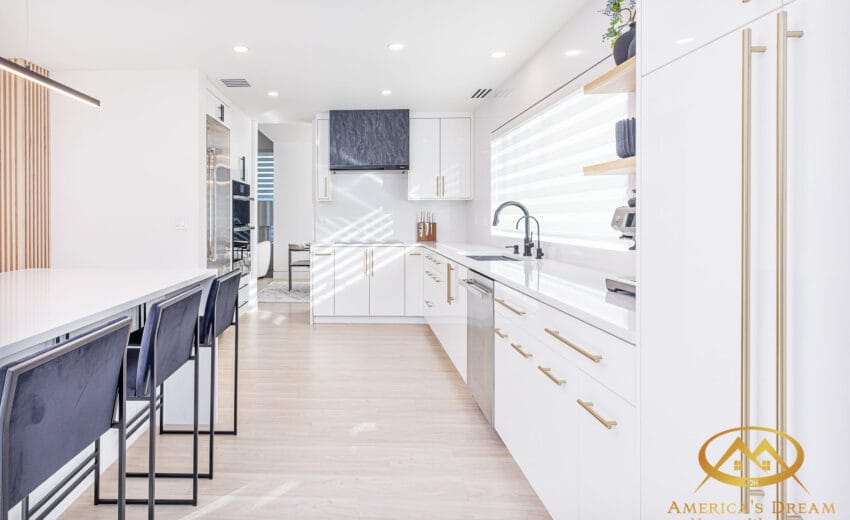
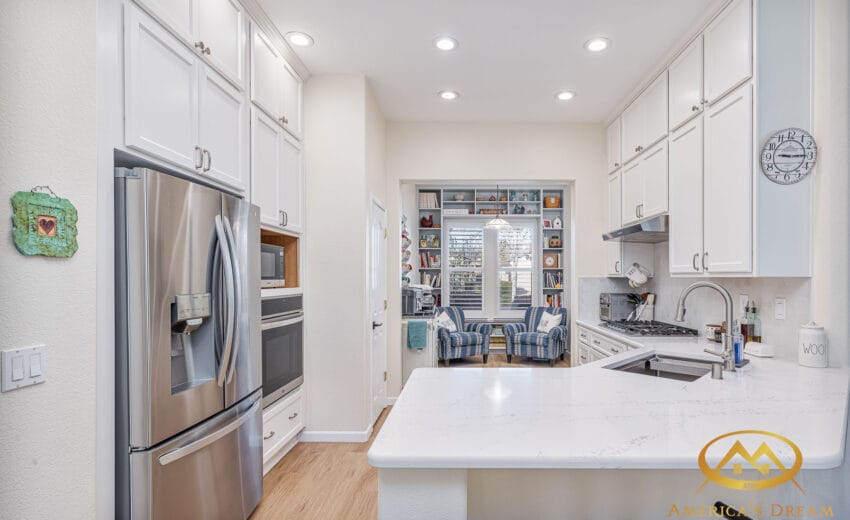
Are your kitchen cabinets looking worn out, but you’re not ready to spend a fortune on a complete renovation? Cupboard refacing offers the perfect solution to transform your space without the hassle of a full remodel. With a few simple steps, you can achieve the fresh, updated look you desire for a fraction of the cost. Let’s dive into how you can get started with cupboard refacing and say goodbye to those old cabinets once and for all.
Step 1: Assess the Condition of Your Cupboards
Before diving into the process of kitchen cupboard refacing, the first step is to assess the condition of your existing cabinets. Are the cupboard doors structurally sound? If your cabinets are in decent shape, cupboard refacing is a fantastic way to breathe new life into them without replacing the entire structure. However, if you notice significant damage, you may want to consider replacing your kitchen cupboard doors instead.
Step 2: Choose Your Refacing Materials
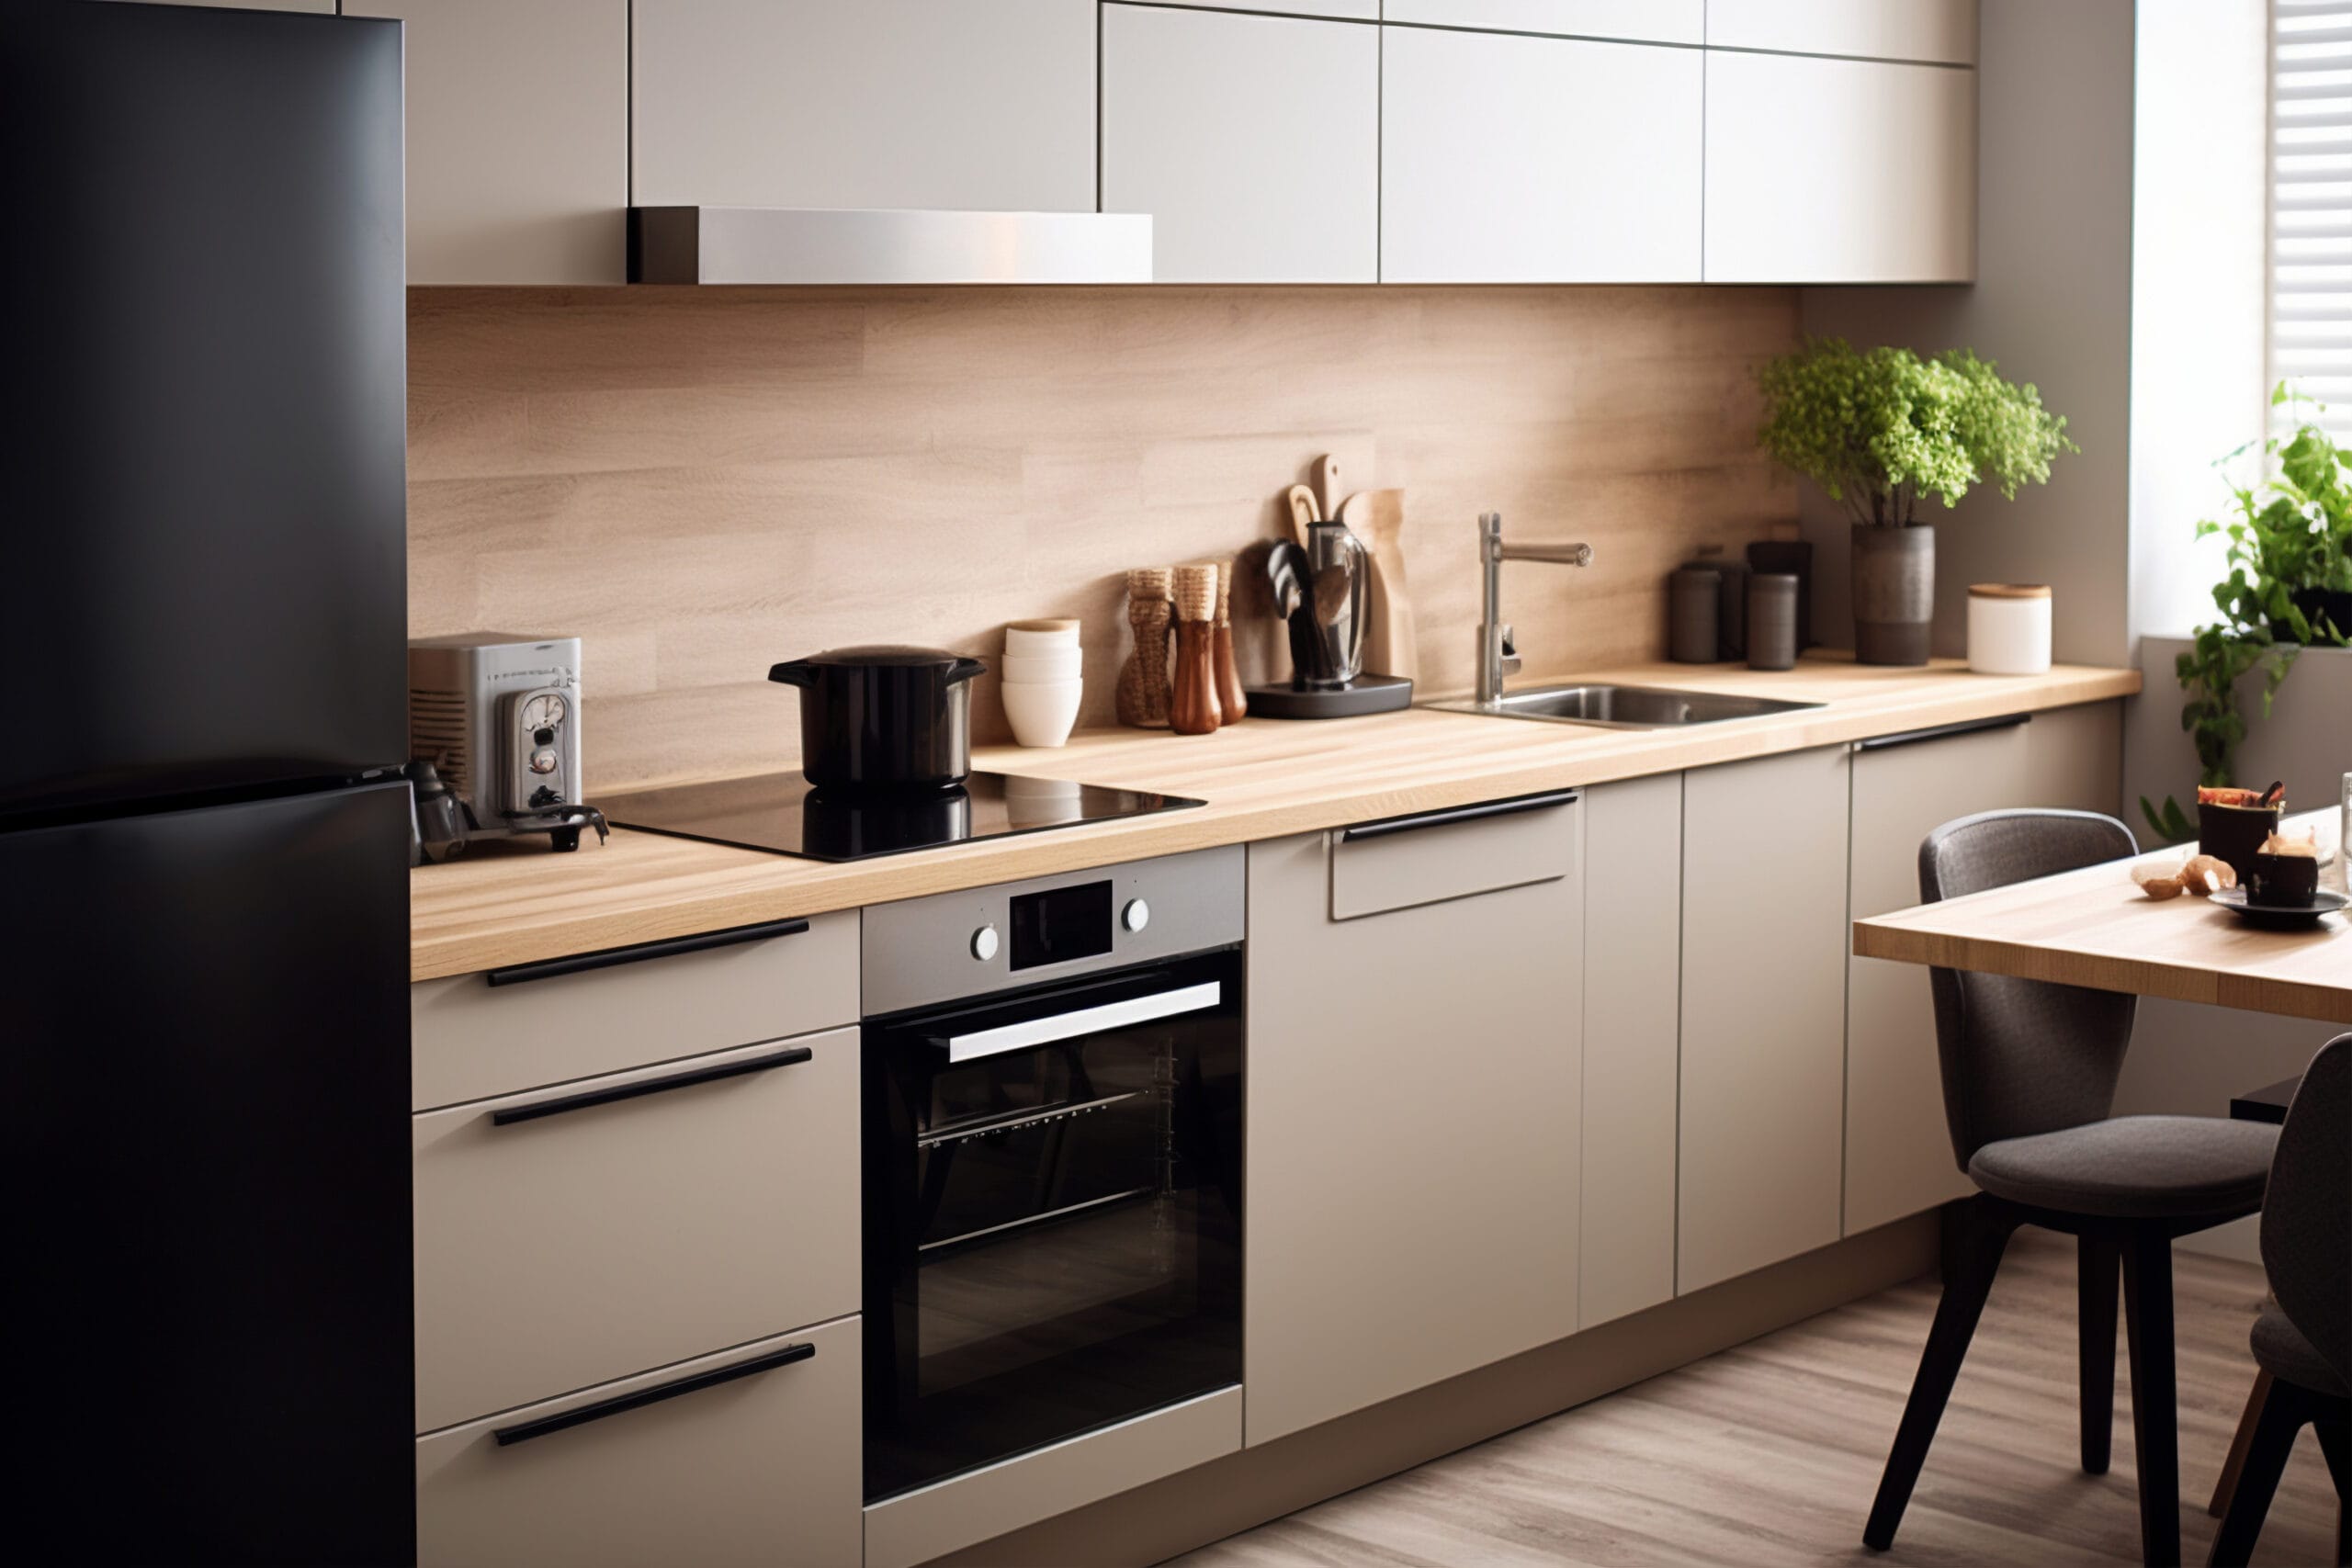
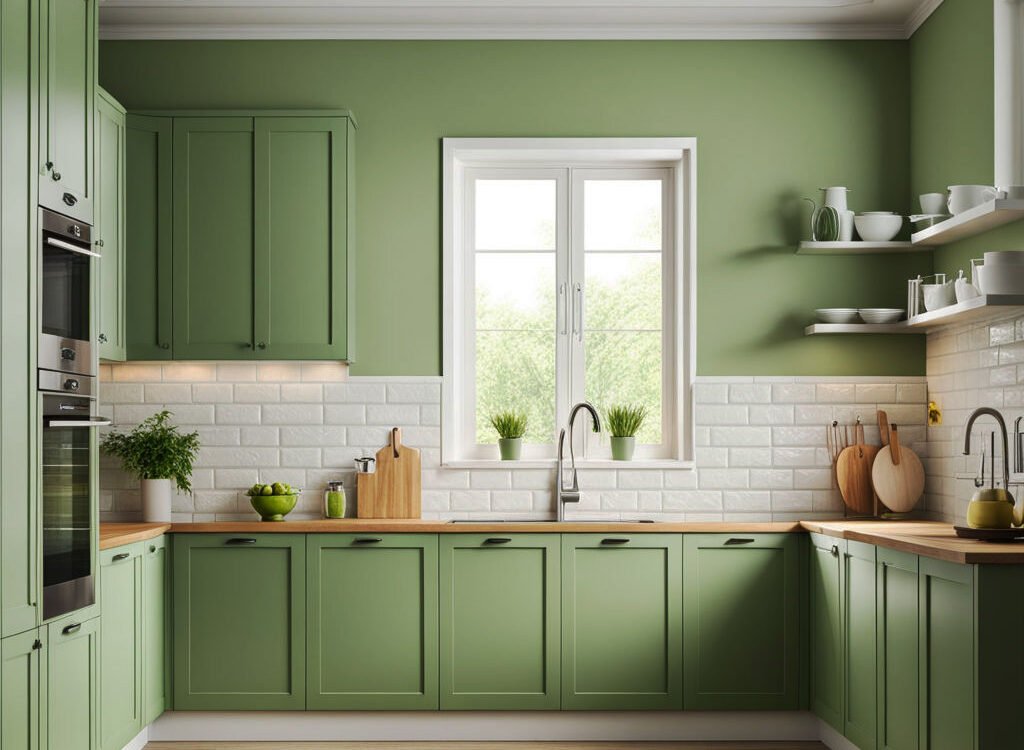
One of the most exciting parts of cupboard refacing is selecting the materials that will give your kitchen a fresh, new look. The most common materials used for refacing include laminate, wood veneer, and thermofoil. You can also add stylish touches like painting cupboards for a customized finish that matches your design preferences. The cost of refacing will vary based on the material you choose, but the good news is that it’s still much more affordable than a full renovation.
Step 3: Remove the Old Cabinet Doors and Hardware
Once you’ve chosen your materials, the next step is to remove the existing cupboard doors, hinges, and handles. This will make it easier to apply new surfaces to the cabinet frames and prepare for the installation of the new doors. If you’re planning to replace old doors entirely, this step is crucial to make room for your updated kitchen cupboard doors.
Step 4: Prepare the Cabinet Frames for Refacing
With your old cupboard doors and hardware removed, it’s time to prepare the cabinet frames for the refacing process. This includes cleaning and sanding the surfaces to ensure they are smooth and free of dirt or grease. Proper preparation is key to ensuring that the new materials adhere well and give a polished finish. If you plan on painting cupboards, now is the time to prime the frames for a smooth and even coat of paint.
Step 5: Apply the New Veneer or Laminate
Now comes the fun part—applying the new veneer or laminate to your cabinet frames. Start by carefully measuring the surfaces and cutting the material to fit precisely. Then, use a strong adhesive to attach the veneer or laminate to the cabinet faces. Smooth out any air bubbles and ensure a tight bond for a seamless look. If you’re opting for kitchen cupboard refacing, this step will dramatically change the look of your kitchen in just a few hours.
Step 6: Install the New Cabinet Doors and Hardware
Once the cabinet frames are refaced, it’s time to install your new cupboard doors and hardware. Whether you’ve chosen to replace them with entirely new doors or have kitchen cupboard doors replaced, be sure to align the hinges correctly for smooth operation. Adding new knobs or handles will also give your cupboards a stylish, modern finish.
Step 7: Review and Final Touches
The last step is to review your work and add any final touches. This could include touching up paint, making sure the doors open and close smoothly, or adding decorative elements to complete the look. Cupboard refacing cost is relatively low compared to a full renovation, but the transformation it brings to your kitchen is priceless.